7 Smart Uses for Pine Tree Sap at Home That You Can Try
-
- Last updated:

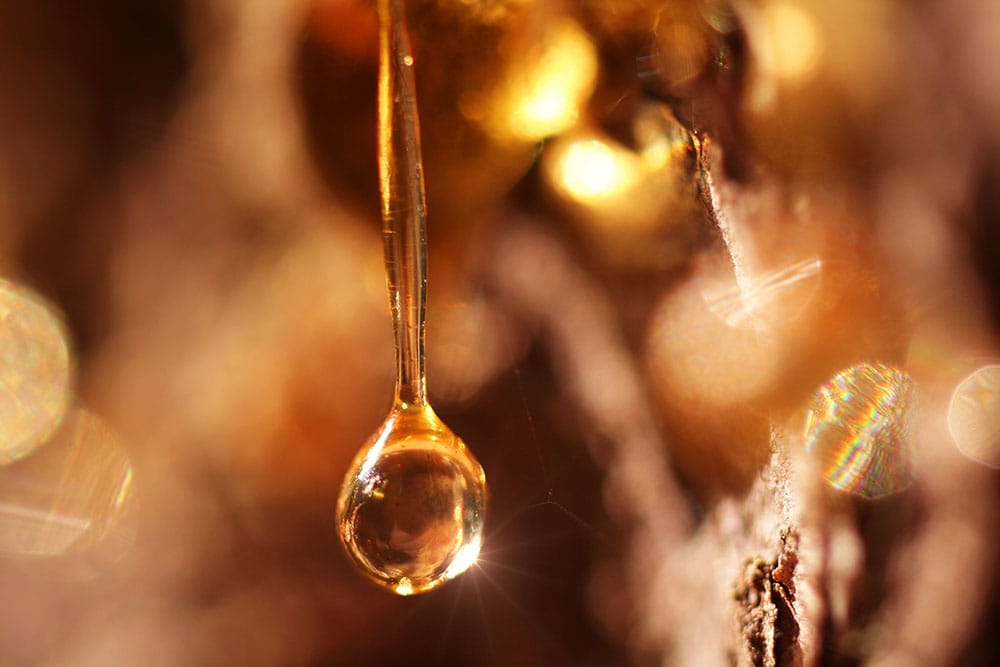
Have you ever noticed a sticky residue oozing out of the trunk of a pine tree? If you have, then you are familiar with pine sap. It is a sticky substance secreted by pine trees. Though this essential woodland resource is often overlooked, it is one of the most versatile resources you can use around your home.
Pine sap has antimicrobial compounds that help protect the tree from fungi and bacteria. It is also naturally adhesive—it can stay attached to the tree trunk, acting as a natural sealant to prevent the tree from losing moisture. Due to the unique qualities and composition of this coniferous plant, pine sap offers a wide array of practical applications to human beings.
This article will highlight some of the smart uses of pine sap at home. It will also cover the proper methods of using pine sap for the different applications highlighted. Read on to find out more.

What Is Pine Sap?
Simply put, pine sap is a secretion from pine trees. Most tree species produce sap, and this coniferous tree is no exception. This sticky substance is primarily used to transport water, nutrients, and mineral elements throughout the tree, akin to blood in the human body. These nutrients pass through xylem cells and phloem tubes to provide nourishment.
Pine sap becomes visible when it drips from cuts and broken limbs in the tree trunk. The trees secrete sap to seal the damage and aid in healing. When pine sap is exposed to air for a considerable period, it tends to harden and crystalize. However, you can soften it by warming it over a fire.
The 7 Smart Uses of Pine Sap at Home
1. Medical Application
When pine trees sustain an injury, they ooze resin that has antibacterial properties and prevents infections in the tree. Similarly, pine sap can also heal and close wounds in human beings. It can treat blisters and burns as well.
If you sustain a scrape or cut, it is vitally important to seal it to prevent infections. Pine sap can be used as a bandage because of its adhesive properties. It will help slow down or completely stop the blood flow from your wound. Make sure that the wound site is cleaned thoroughly before applying the sap.
In addition, due to its antibacterial properties, pine sap can inhibit bacterial growth on an open wound. Pine pitch is also used as a drawing agent to suck out particles or foreign agents from the wound.
You can harvest fresh pine sap and directly apply it to spider bites or splinters to help the body expel the poison. This product also acts as a counterirritant, signaling the body to direct more white blood cells to the infected site.
- Harvest some fresh pine sap from the trees.
- Heat the sap into a liquid form using a double boiler. Don’t heat pine sap directly on an open flame because it is highly flammable.
- Pass the liquid sap through a sieve to filter out bark, dirt, and debris.
- Mix the pine sap with olive oil over a double boiler.
- Add some beeswax to the concoction to make it firmer, then apply as desired.
2. DIY Lamps
As you may have gathered, pine sap is extremely flammable. This makes it a suitable material for making primitive lamps. Many people consider pine resin a suitable material for candle making. Some researchers even argue that, just like paraffin wax, it is possible to make functional candles. Unfortunately, they are woefully misinformed.
Even if you mix pine sap with beeswax to increase firmness, the pine resin will simply ignite into a ball of flames. It will not be a slow-burning candle with a small flame at the wick as you would expect.
If you want to make a primitive lamp at home using pine resin, you may have to create a hole through a piece of wood and stuff it full of pine pitch with a little piece of fabric to act as the wick. When you light it, it will burn for a longer period, sort of like a primitive tea light.
- Find a bowl-shaped rock and some moss
- Put the moss, which acts as a wick, into the rock bowl
- Surround the moss with pine pitch, ensuring that the moss sticks out on top
- Light the moss
- Add more pine pitch as the wick burns out
3. Glue

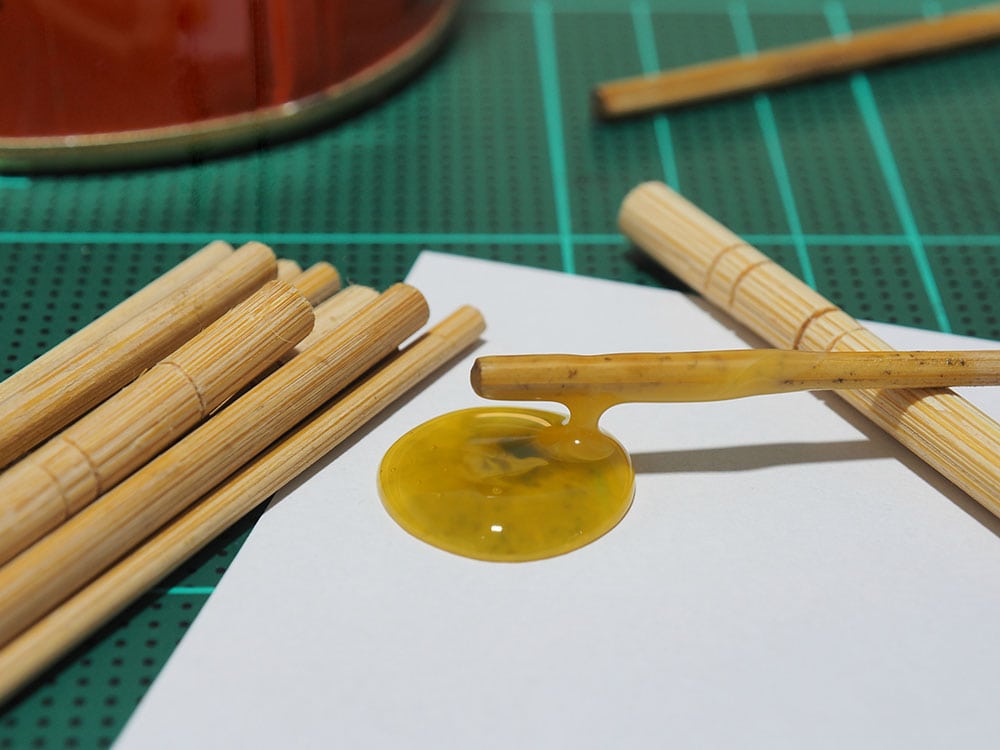
This is an obvious functionality because pine sap is very sticky, thus earning the term “nature’s glue.” Pine sap makes an incredible glue because it is firm, sticky, and waterproof. Traditionally, Native Americans used it to attach arrowheads to arrows along with sinew string.
To use it, simply harvest hardened pine resin crystals. When you need an adhesive, simply heat over coal and spread it over the desired area. You can add charcoal to the mixture to make it more durable. The only downside is that the pine pitch hardens when it dries.
4. Fire Crafting
Whether camping in your backyard or on scenic camping grounds, fire is essential for surviving outdoors. It offers heat from the cold and light from the darkness. Pine resin is your best friend in outdoor excursions because it is very flammable. It will help you start and keep the fire going even in a rainy season.
You can harvest or tap pine tree resin to prolong the burn time or use it as a turpentine fire starter. A few dry pine sap crystals will help kindle fire even in wet conditions. Just douse your kindling material with sap before starting the fire.
5. Pine Sap Torches

Melted pine sap can also be poured on a cloth and tied at the end of a stick to use as a makeshift torch. Alternatively, you could dip a stick in a bale of pine sap and let it harden. Remember that molten pine resin can get very hot, is very sticky, and drips easily. Therefore, handle it with care to avoid serious burn injuries.
- Get a long stick to use as the torch base. Also, get long thin strings of fabric or cotton rope.
- Wrap the fabric or rope around the top of your base stick.
- Make some liquid pine sap by heating the crystals over some low fire.
- Dip the rope/fabric wrapping into the pine pitch and let it dry.
- Light the torch with caution.
6. Sealant
Since pine sap naturally protects wounds and cuts on trees, it makes sense that the product would make a sealant of sorts. Just mix the sap with a smidge of beeswax to improve workability and pliability. After preparing your grafting stems, smear the mixture around the cuts or pruning wounds to seal and protect them.
Moreover, when pine pitch dissolves in alcohol, it can be used as a natural wood varnish to protect the surface of the wood from weathering elements. However, it takes highly concentrated alcohol to dissolve the pitch. Therefore, consider getting grain alcohol or the highest alcohol proof you can find. Ideally, it should be 190-proof, for varnishing applications.
Furthermore, when pine sap is heated to get rid of excess moisture, it becomes pine tar. Pine tar can make things like plastic containers watertight. It can also seal crevices and cracks on boats and tents. Just ensure that the pine sap is not too hot because it is flammable.
7. Pine Sap Soap

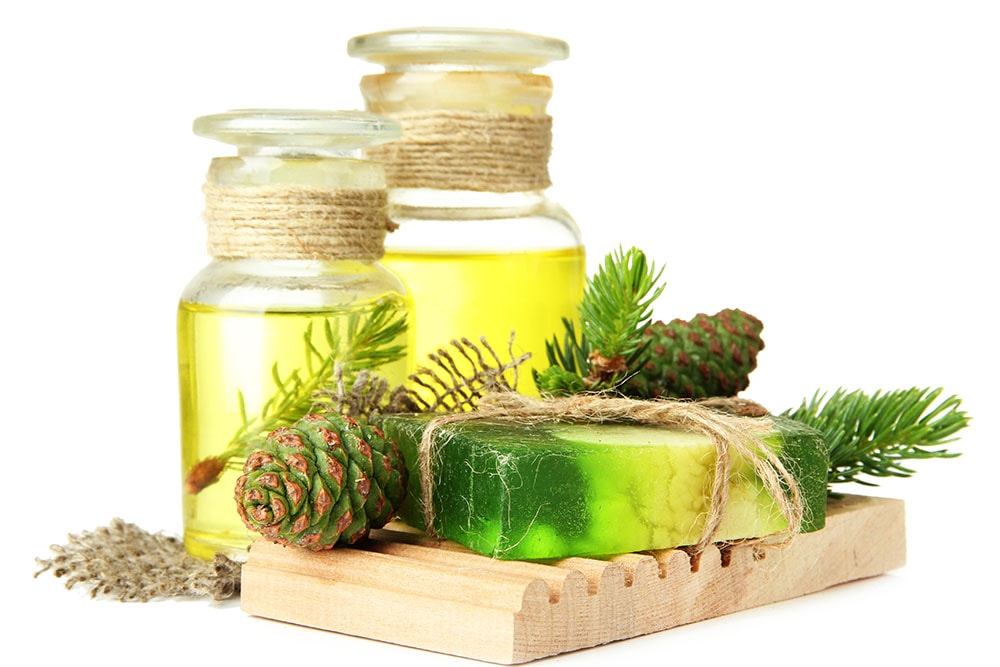
Pine sap soap has been used in many households over the years. Unfortunately, it fell out of popularity when chemical soaps were made available. However, it still makes a practical and useful soap due to its natural antiseptic qualities.
Before making pine sap soap, you first have to make pine tar. Alternatively, you can use pine pitch. Though, do not add charcoal or any other fillers substrates to the pine pitch.
- Measure some lye (pure sodium hydroxide), add some water, and stir the mixture. Make sure you stand far from the solution to avoid fumes
- Put the mixture into a container and melt it using a double boiler.
- Wait for the solution to cool down to a temperature of around 200°F.
- Once both mixtures reach the required temperatures, add the lye mixture to the oil mixture and stir for about 5 minutes. Use an immersion blender to make the mixture thick.
- Add pine sap into the mixture and stir vigorously, then pour it into a mold of your choice.
- Wrap the mold in plastic wrap and then cover it with a towel.
- Check if the soap has solidified after 24 hours. If not, let it sit for a few more hours.
- Take the soap out of the mold and let it aerate, preferably on a baking rack.
- Once the soap has formed and is cured, place it in an airtight container to avoid getting greasy from moisture exposure.

How to Harvest Pine Sap
Collecting and harvesting pine sap is not a difficult endeavor. On most occasions, the sap has already oozed out of the tree and hardened into a pitch or resin on the tree trunk. Look for cuts or broken branches on the pine tree because this is where the sap will be oozing out.
To harvest it, you need a knife or similarly sharp object to pry the crystal from the tree trunk. If you need the pine secretion to be syrupy, heat it over a fire or a heat source.
Another method you could employ is tapping the tree. This involves fixing a tap on a tree trunk allowing the sap to drip into a container from the tree trunk. However, this method damages the tree and exposes it to infections. Therefore, only tap a tree if you don’t get any sap, pitch, or resin that has already spilled out.
- Cut multiple twelve-inch lines downwards in a V shape with a knife or any sharp object.
- Place a metal container directly underneath the V-shape. Sap will ooze out of the tree and into the container.
- Leave the setup for a few hours and check to see the amount of sap collected.

Conclusion
Pine sap may be annoying if you accidentally lean back on a pine tree, only to find the entire back of your clothes drenched in sticky sap. However, besides the mild wardrobe inconvenience, it is a very useful and versatile product with applications in various industries.
The sap has a unique composition and qualities that make it ideal for daily use. Once you have harvested some, you can mix it with olive oil to heal and close wounds. You can also use it to create strong and durable glue because the sap is waterproof, firm, and very adhesive.
If you are an outdoor enthusiast, pine sap will allow you to make long-lasting torches and allow you to start a fire even in wet conditions. Bear in mind that when collecting pine sap, try to minimize the tapping method. Also, look for damaged or old pine trees before collecting resin or sap. Tapping not only inflicts damage but also leaves the tree vulnerable to infections.
Featured Image Credit: Pawel Horazy, Shutterstock
Contents

